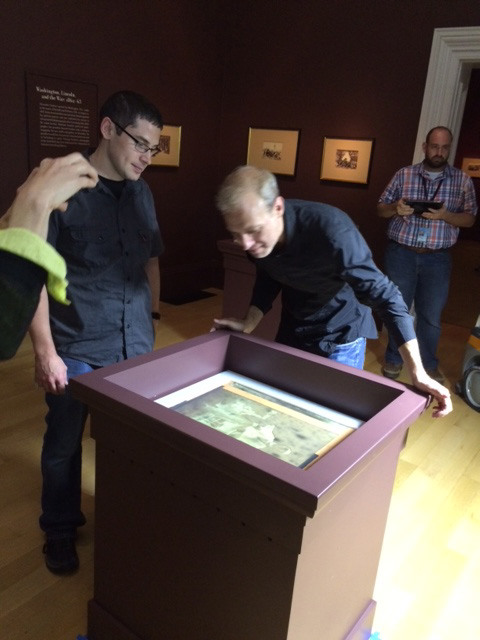
The floor case lit up when a visitor approached it. This allowed the viewer to clearly see the object but would not subject the piece to unnecessary heat and light when unobserved. This dramatic installation allowed visitors a glimpse into a defining period in U.S. history and historic photographic technology.
Trip the Light Fantastic: A Conscientious and Compelling Display of a Glass-Plate Negative
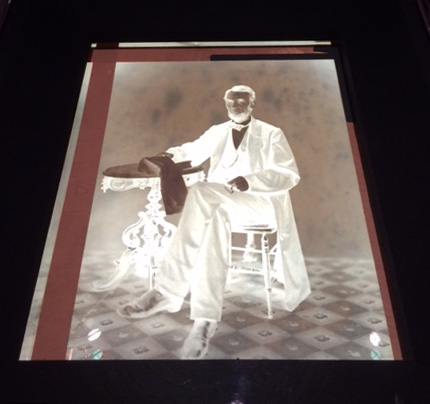
Photographers began to widely use collodion glass-plate negatives in the 1850s. The collodion process decreased exposure time and achieved an image clarity that paper negatives could not. However, glass negatives needed to be exposed and developed quickly, while the solutions were still wet, to be processed successfully.
Steps for producing a glass plate negative:
- Thoroughly cleaning and polishing the plate
- Pouring the room-temperature collodion (it’s extremely flammable!) solution over the plate surface
- Sensitizing and exposing the plate to light
- Developing and increasing the plate’s image density by applying more sensitizer
- Rinsing with water, placing in a fixing solution, and then clearing the plate in several water baths
- Removing the plate from the water bath and heating it evenly over a flame
- Pouring warm varnish over the plate’s surface
- Carefully reheating the plate until the varnish is set